Overview
A guide to creating custom parameters using Python in Houdini. We'll explore some of the commands we can use to build different kinds of parameter sets, including folders, checkboxes, buttons, or float inputs. We'll also look at how to edit, or remove them. The aim is to provide the groundwork for customizing Houdini interfaces rapidly, with automation. An alternative to using the Edit Parameter Interface or VEX, for constructing templates or needing to edit multiple paramaters across a range of nodes at once.
Quick Reference
This list provides you with a quick reference of some of the more useful commands. For a complete walkthrough by example, jump to the Explanation by Examples section.
Open the Python Shell in Houdini Window -> Python Shell, then type the following commands in succession. Alternatively, for a faster workflow, open the Python Source Editor Window -> Python Source Editor - If you are using the latter, you need to import the hou module first. Just add import hou on the first line. Now write your commands and simply click Apply once you are done, to run the script.
Note: All code examples can also be found on our Gist page.
Create a new float parameter
An example of the basic workflow. Creates a new float parameter with three inputs at the bottom of the defined node's parameter list.
# get node (find the path in your node's info panel)
n = hou.node("/path/to/node")

# get existing list of parameters for the specified node
g = n.parmTemplateGroup()

# define new float parameter ("id", "Label", components/input fields, default values)
p = hou.FloatParmTemplate("myParm", "My Parameter", 3, default_value=[1, 1, 1])

# append the new parameter to the list
g.append(p)

# apply changes
n.setParmTemplateGroup(g)
Basic workflow example to create a float type parameter.
Other useful commands
Following is a list of useful commands. The Variables used are based on the example above.
Note: Wherever an id of a parameter needs to be specified, it's index can be used instead. The index needs to be specified as a Tuple: (0, 0) where (Folder index, Parameter index), or (Parameter index, ) if the parameter is not in a folder. Refer to the Using the Parameter Index section.
# edit a parameter using replace
oldParm = "oldParmId"
newParm = hou.FloatParmTemplate("newParmId", "NewParmLabel", 3, default_value=[1, 1, 1])

g.replace(oldParm, newParm)
Edit Command.
# if you defined a parameter earlier
g.remove(p)

# ...otherwise remove by id - useful to remove existing parameters
g.remove("myParm")

# clear all custom parameters
g.clear()
Remove commands.
# check if a parameter exists. Returns the parameter, else nothing.
g.find("myParm")

# find index of parameter
g.findIndices("myParm")

# if you are using the Python Source Editor
# use print() to print out to the Python Shell
parm = g.find("parm1")
print("{}: {}".format(parm.name(), parm))
Find commands.
# insert parameter above or below another parameter (by ID)
g.insertAfter("id")
g.insertBefore("id")

# insert parameter above or below another parameter or folder (by Index)
g.insertBefore((index,), p)
g.insertAfter((index,), p)

# insert parameter above a parameter within a folder (by Index)
g.insertBefore((folder index, parameter index), p)
Insert before and after commands.
# list all parameters in group
l = g.entries()
for i in l:
	print(i)

# list names of all parameters in group
l = g.entries()
for i in l:
	print(i.name)

# list names of parameters excluding folders
l = g.entriesWithoutFolders()
for i in l:
	print(i.name())
List parameter names.
# float
p = hou.FloatParmTemplate("float1", "Float 1", 1)

# button
p = hou.ButtonParmTemplate(
    "btn1",
    "Button 1",
    script_callback='print("Hello World!")',
    script_callback_language=hou.scriptLanguage.Python
),

# checkbox
p = hou.ToggleParmTemplate("check1", "Checkbox 1", default_value=True)

# separator
s = hou.SeparatorParmTemplate("sep1"),
Parameter types - some of those are discussed in more detail below.
# define new folder
f = hou.FolderParmTemplate("myFolder", "My Folder")

# define new simple folder (no tab)
f = hou.FolderParmTemplate("myFolder", "My Folder", folder_type=hou.folderType.Simple)

# add parameter at bottom of folder
f.addParmTemplate(p)

# remove item from folder (same as for group)
g.remove("id")

# create folder with multiple parameters at once
f = hou.FolderParmTemplate(
	"folder1",
	"Folder 1",
	folder_type=hou.folderType.Simple,
	parm_templates=[
		hou.FloatParmTemplate("parm1", "Parameter 1", 1),
		hou.FloatParmTemplate("parm1", "Parameter 1", 1)
	]
)
g.append(f)

# create multiple folders at once
f = [
	hou.FolderParmTemplate(
		"folder1",
		"Folder 1",
		folder_type=hou.folderType.Simple,
		parm_templates=[
			hou.FloatParmTemplate("parm4", "Parameter 4", 1),
			hou.FloatParmTemplate("parm5", "Parameter 5", 1)
		]
	),
	hou.FolderParmTemplate(
		"folder2",
		"Folder 2",
		folder_type=hou.folderType.Collapsible,
		parm_templates=[
			hou.FloatParmTemplate("parm6", "Parameter 6", 1),
			hou.FloatParmTemplate("parm7", "Parameter 7", 1)
		]
	)
]

for i in f:
	g.append(i)
Folder Commands.
Houdini Commands Reference
Explanation by Examples
To get a better understanding of what's going on, let's build a custom parameter set - including folders and different types of parameters.
Creating a Box SOP and Retrieving It's Path
In our example we'll start by creating a new box SOP, in a new Houdini project.
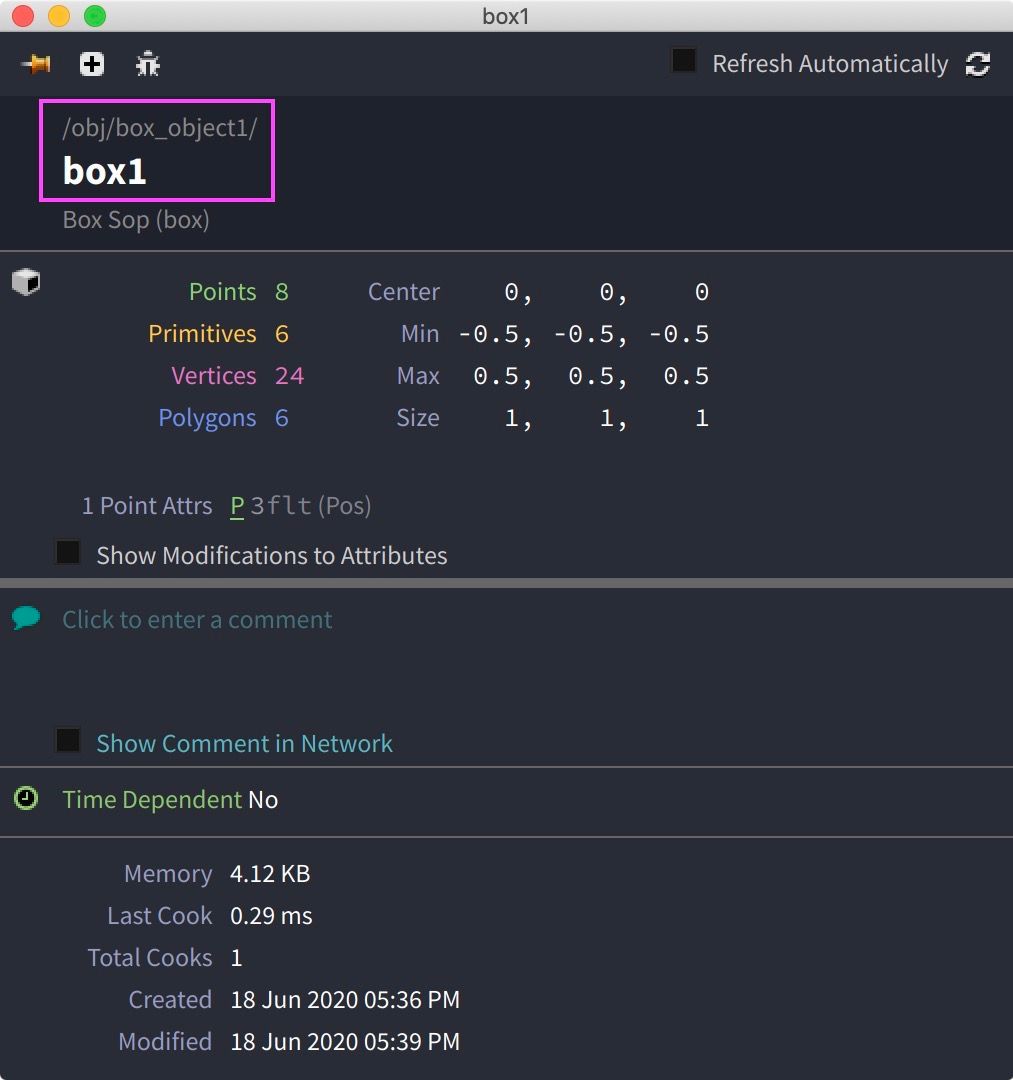
Jump down into the resulting box_object1 and select the box1 node. We'll be creating the parameter set for this node.

box1 node.In the info node we can find and copy the node path.
box1.Setting up our Scripting Workflow
Next, open the Python Shell Windows -> Python Shell, and the Python Source Editor Windows -> Python Source Editor.
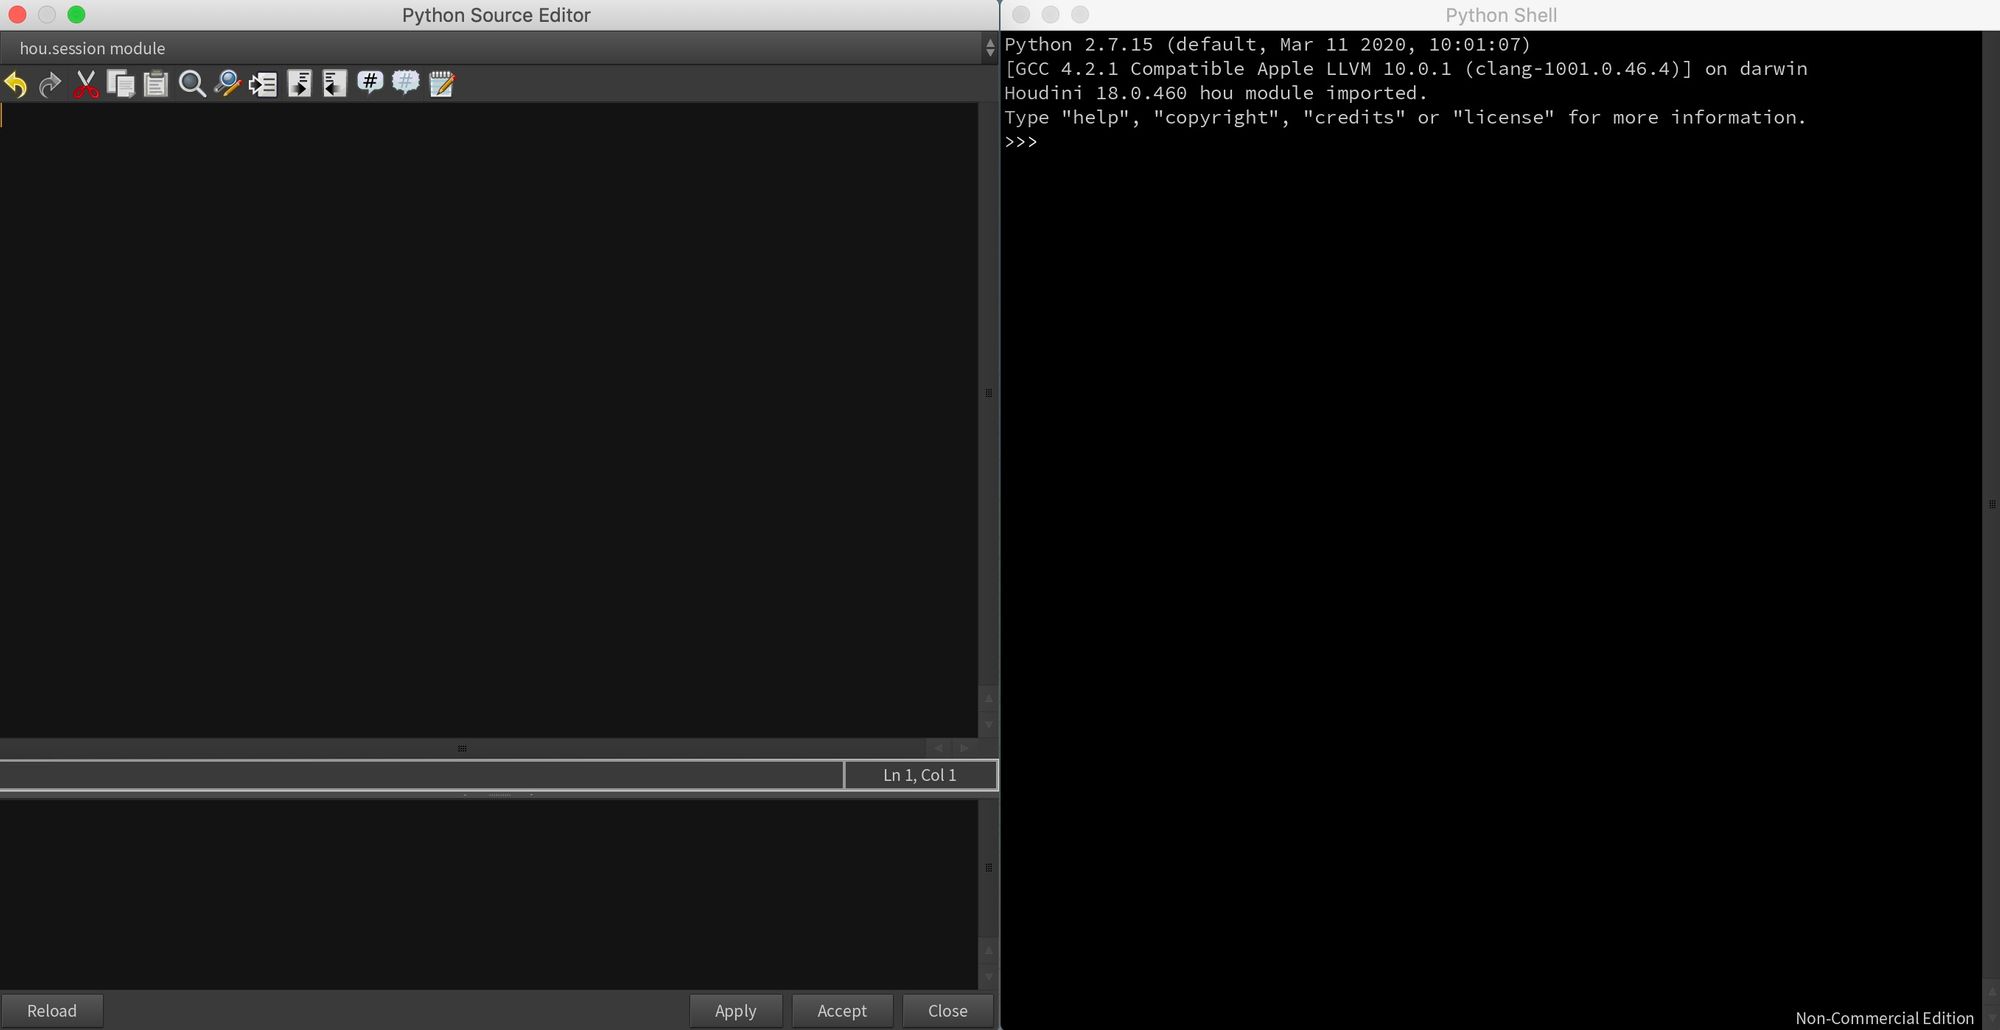
You could input commands in the Python Shell directly but we'll use the Python Source Editor instead.
We need to import the hou module first that allows us to interact with Houdini.
Hou Package: Module containing all the sub-modules, classes, and functions to access Houdini.
import hou
Note: If you are working directly with the Python Shell, there is no need to import the hou module since it's imported by default.

hou module is imported for you in the Houdini Python Shell.Basic Workflow
Let's go over the basic workflow first. We need to specify the node that we want to create the parameter set for. We can do this by inputting the node path we got from the node's info panel.
n = hou.node("/obj/box_object1/box1")
We then need to retrieve the Class that holds the existing parameters, or create a new one. Either way we can use this command and assign it to a variable:
g = n.parmTemplateGroup()
Note: When running this command, the group will be stored in our variable as a copy. Any changes made will only affect the copy, hence we will have to overwrite the existing group once we are ready to commit the changes. This works similarly to the Edit Parameter Interface, where you make your changes and finally click on Apply to commit those changes, and only then you will see them.
Let's define our first parameter: A float value with 3 input fields (x, y, z), and default values of 1 for each.
p = hou.FloatParmTemplate("parm1", "Parameter 1", 3, default_value=[1, 1, 1])
Note: Learn more about the Float Parameter type.
Now let's add this new parameter at the bottom of our group.
g.append(p)
And finally commit the changes
n.setParmTemplateGroup(g)
You should see the new parameter created at the bottom of the parameter list of box1.
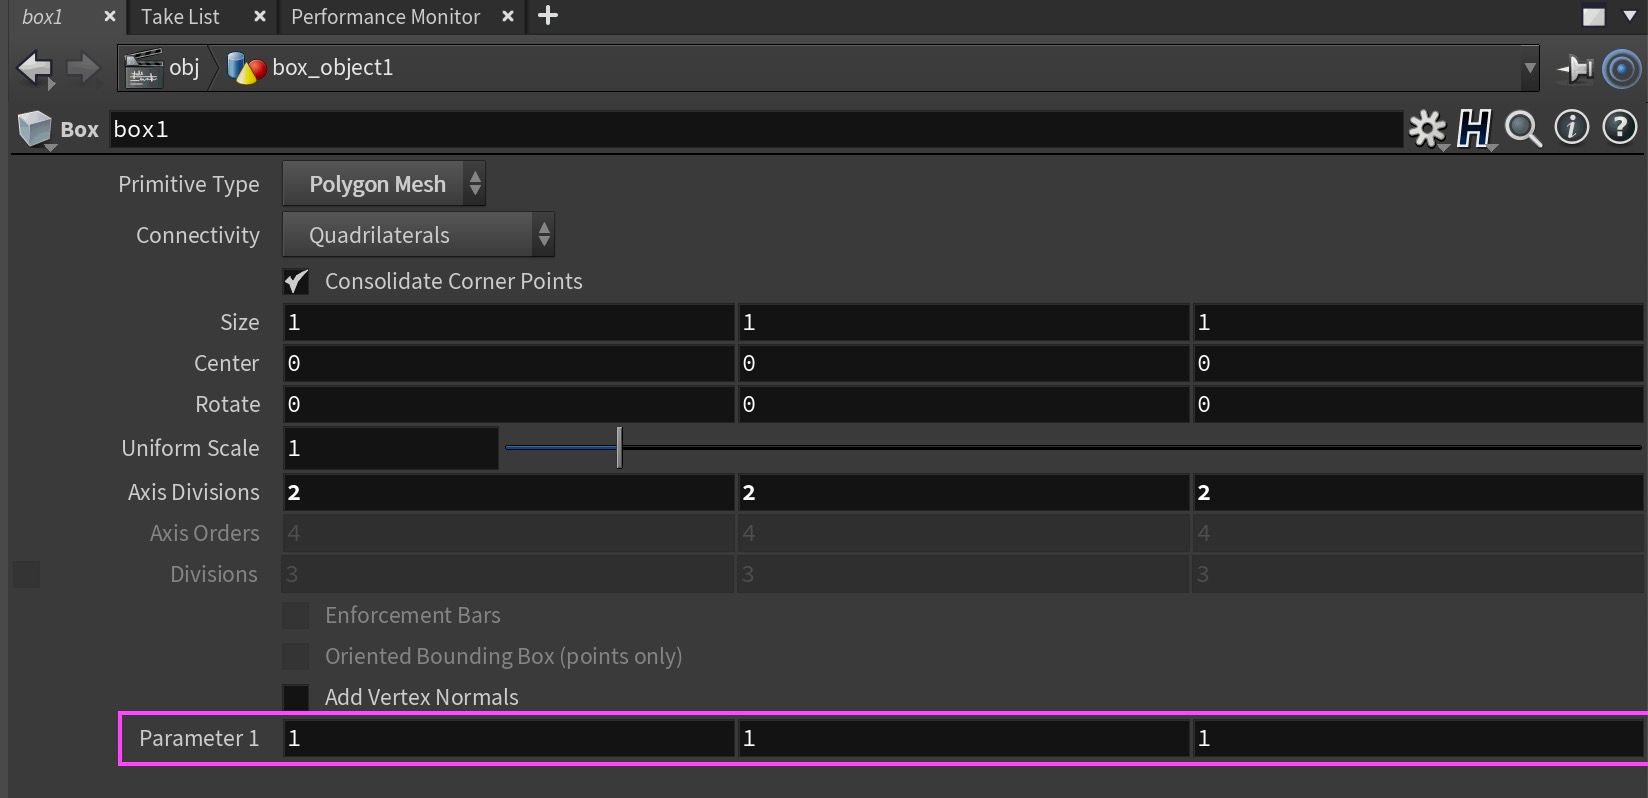
hou.FloatParmTemplate().Note: You can undo the command by clicking outside the Python Source Editor and pressing CMD/CTRL Z.
Creating a Checkbox Parameter
Let's create a new parameter, a checkbox this time.
Replace the p line with:
p = hou.ToggleParmTemplate("parm2", "Parameter", default_value=True)Note: Learn more about the Checkbox Parameter type.
Hit Apply, and a checkbox should appear at the bottom of the parameter list of box1.
Edit an Existing Parameter
To edit an existing parameter we can use the replace() command. Let's swap the name with parm3, the label with Parameter 3", and set the default value to False. Now we can sepcify the old parameter and the new parameter as arguments in the replace(oldParm, newParm) method.
import hou

n = hou.node("/obj/box_object1/box1")
g = n.parmTemplateGroup()
p = hou.ToggleParmTemplate("parm3", "Parameter 3", default_value=False)

# replace(old parm id or index, new parm)
g.replace("parm2", p)

n.setParmTemplateGroup(g)
Replace command.
Note: Remember that any changes made only affect the copy so we always need to commit the changes for them to take effect using the setParmTemplateGroup() command. For more info see the hou.Node reference and look for setParmTemplateGroup().
Hit Apply and the checkbox label should now be updated and the checkbox unchecked.
Notice that we used the id of parm2 as argument in the replace() command. To find any id, simply hover over the parameter.

Similarly, we can use the parameter's index instead.
Using the Parameter Index
The index is defined as a Tuple: (0, 0). If a parameter is within a folder, the folder index is specified first, and the parameter index second: (Folder index, Parameter index). If not, only the parameter index is specified and the second position left blank, but make sure you keep the comma or it wouldn't be a Tuple: (Parameter index, ).
To find the index of an existing parameter we can use the findIndices("id") command.
import hou

n = hou.node("/obj/box_object1/box1")
g = n.parmTemplateGroup()
i = g.findIndices("parm3")

print(i)
Find a parameter's index.
If you hit Apply, the Python Shell should display a Tuple, e.g: (15,). The first number represents the index. So now we can use:
g.replace((15,), p)
Creating a Button Parameter
Let's use this index to insert a new button parameter between Parameter 1 and 3, named 2. For this we can use the insertBefore() or insertAfter() commands. Since we already found the index of parm3: (15,) let's use that in the insertBefore() command.
import hou

n = hou.node("/obj/box_object1/box1")
g = n.parmTemplateGroup()
p = hou.ButtonParmTemplate(
	"parm2",
	"Parameter 2",
	script_callback='print("Hello World!")',
	script_callback_language=hou.scriptLanguage.Python
)
g.insertBefore((15,), p)
n.setParmTemplateGroup(g)
Add Button parameter.
Note: The script_callback has to be written as a string. Make sure you specify the language in which you write it in using the script_callback_language argument - this can be Python or Hscript.
Note: Learn more about the Button Parameter type.
Cool, so if you hit Apply, you should see the Parameter 2 button appear. You can test it by clicking it, and if you used the sample code print("Hello World!"), that message should be written to the Python Shell.
Moving on, let's create a folder and populate it with new parameters.
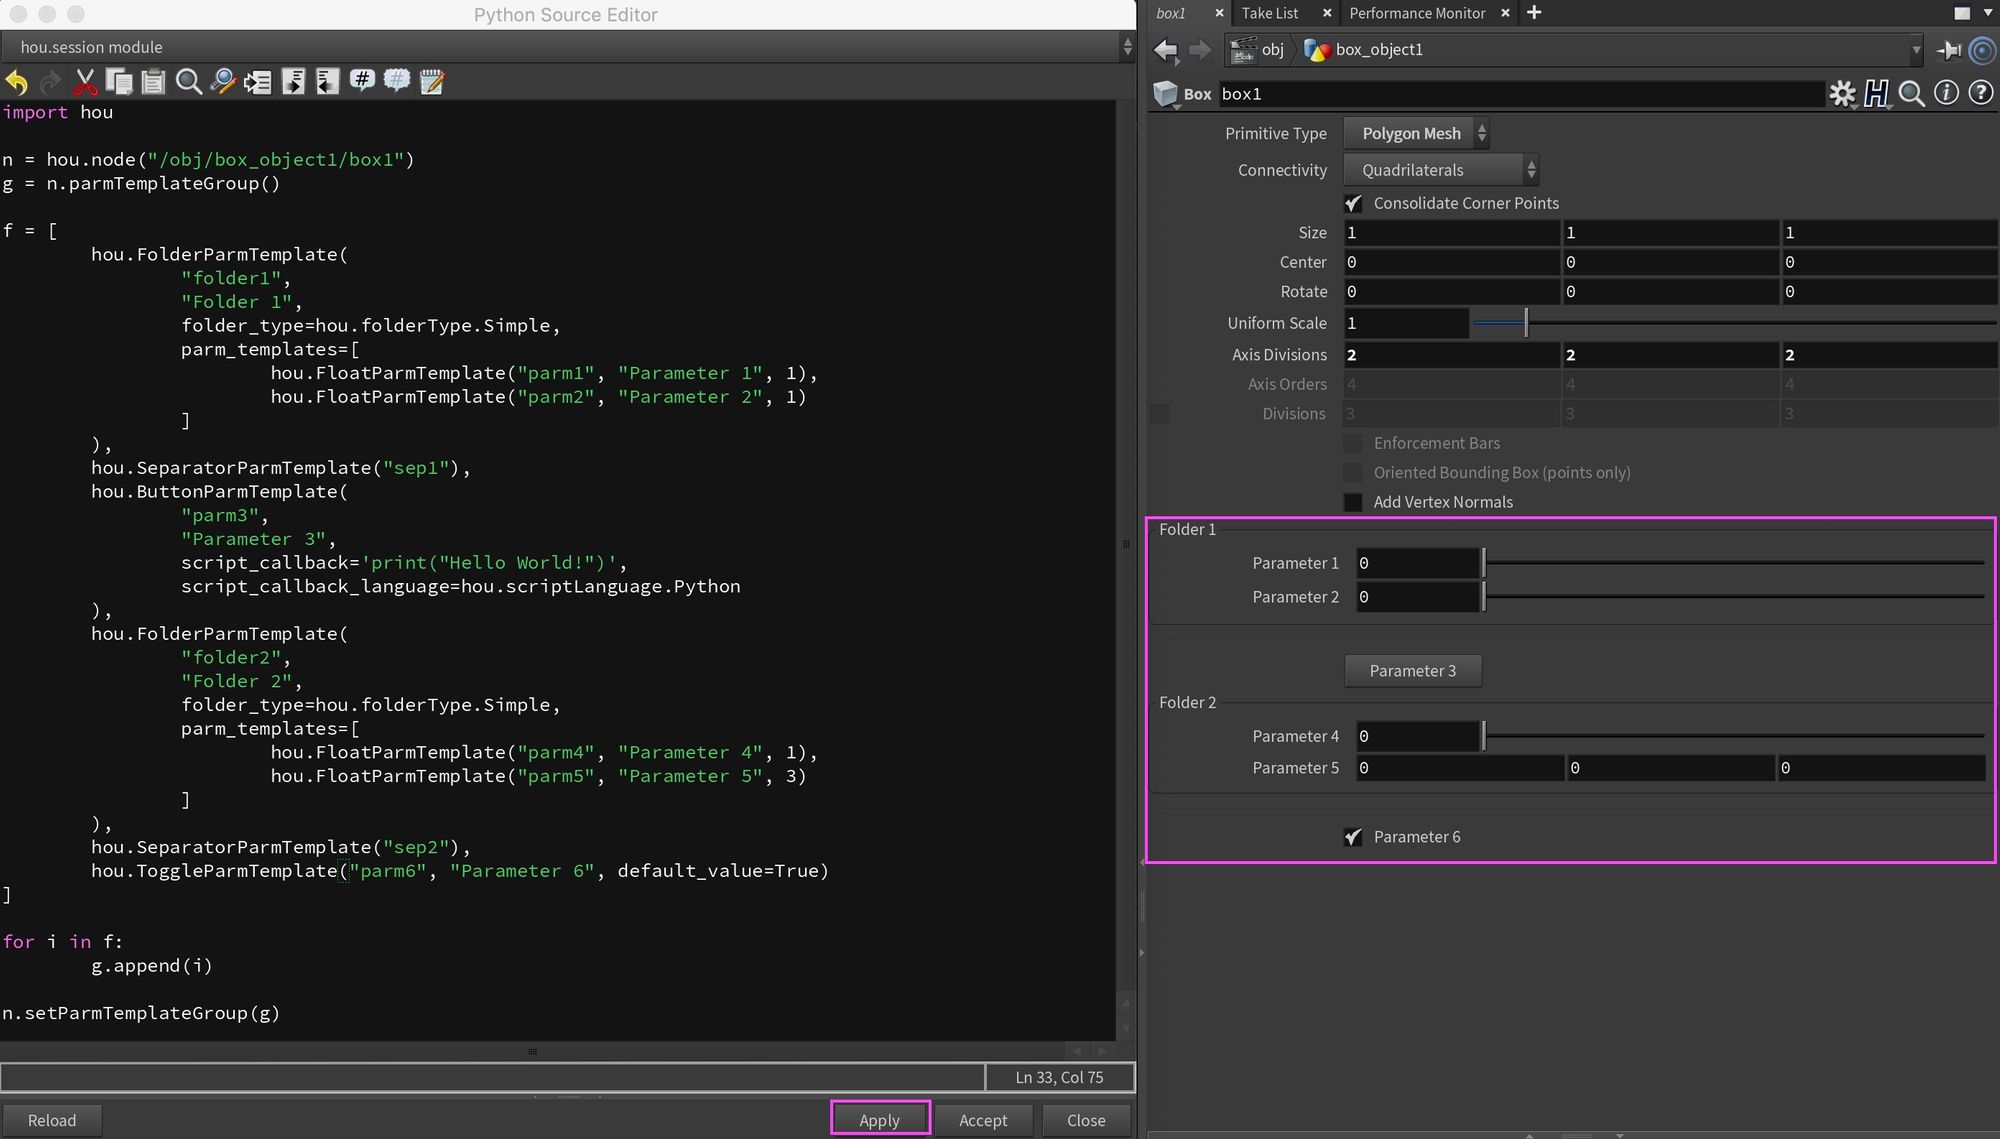
Creating Folders
Below are two examples, one for creating a single folder, and the second to create multiple folders using a Python list and a for loop.
We are using the FolderParmTemplate for this. We can specify any parameter template to include within parm_template, and specify the folder_type as one of the available folder types in Houdini.
Note: Refer to this page for more info: Folder Parameter.
import hou

n = hou.node("/obj/box_object1/box1")
g = n.parmTemplateGroup()

f = hou.FolderParmTemplate(
	"folder1",
	"Folder 1",
	folder_type=hou.folderType.Simple,
		parm_templates=[
			hou.FloatParmTemplate("parm4", "Parameter 4", 1),
			hou.FloatParmTemplate("parm5", "Parameter 5", 1)
		]
	)

g.append(f)

n.setParmTemplateGroup(g)
Creating a folder including multiple parameters.
import hou

n = hou.node("/obj/box_object1/box1")
g = n.parmTemplateGroup()

f = [
    hou.FolderParmTemplate(
        "folder1",
        "Folder 1",
        folder_type=hou.folderType.Simple,
        parm_templates=[
            hou.FloatParmTemplate("parm4", "Parameter 4", 1),
            hou.FloatParmTemplate("parm5", "Parameter 5", 1)
        ]
    ),
    hou.FolderParmTemplate(
        "folder2",
        "Folder 2",
        folder_type=hou.folderType.Collapsible,
        parm_templates=[
            hou.FloatParmTemplate("parm6", "Parameter 6", 1),
            hou.FloatParmTemplate("parm7", "Parameter 7", 1)
        ]
    )
]

for i in f:
    g.append(i)

n.setParmTemplateGroup(g)
Creating multiple folders and parameters.
Including parameters while defining folders is great for workflow, but you can always create the folder first and then insert parameters after using the dedicated addParmTemplate() method. Ultimately you can use any of the insertBefore()/insertAfter() methods as well.
# define new folder
f = hou.FolderParmTemplate("myFolder", "My Folder")

# define new simple folder (no tab)
f = hou.FolderParmTemplate("myFolder", "My Folder", folder_type=hou.folderType.Simple)

# add parameter at bottom of folder
f.addParmTemplate(p)

# remove item from folder
g.remove("id")
g.remove((folderIndex, parmIndex))
Create a folder and append a parameter, or remove it.
Creating Parameters for Multiple Nodes
In this final example, we'll define and set a parameter for all children of a specified node.
import hou

n = hou.node("/obj/box_object1").children()
for i in range(len(n)):
	g = n[i].parmTemplateGroup()
	p = hou.FloatParmTemplate(
		"parm%s" % (i+1),
		"Parameter %s" % (i+1),
		1,
		default_value=[i+1]
	)
	g.append(p)
	n[i].setParmTemplateGroup(g)
Cycle through all children and append the new parameter.
We retrieve all nodes of the specified object's children. Then, we cycle through them and append to each the new parameter with relative values (based on the loop's index).
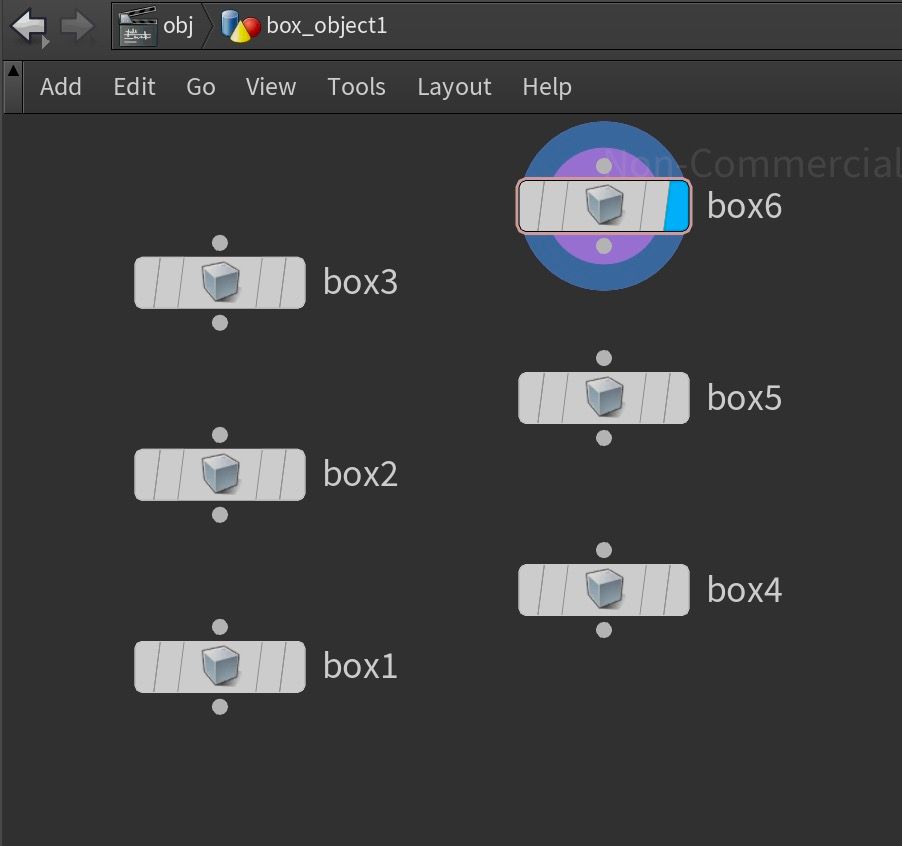
box_object1Additional Resources

Basic template on our Gist page.

Starter template on our Gist page.

All quick reference code samples (and more) can be found on our Gist page.

Houdini's Hou Package Reference.

Python Scripting in Houdini Reference.

Tutorial on automating folder creation in the Mac Finder.


