
Overview
Of course, another waste of time can be wondering around the web in search of tools that help you to automate stuff. Well, if you work on a Mac, look no further! OSX comes with an Application that goes by the name of Automator - that allows you to build custom workflows by stacking commands/actions via a simple drag and drop. It is Mac’s own solution to automate repetitive tasks.
Let's Build Our File Renaming Workflow
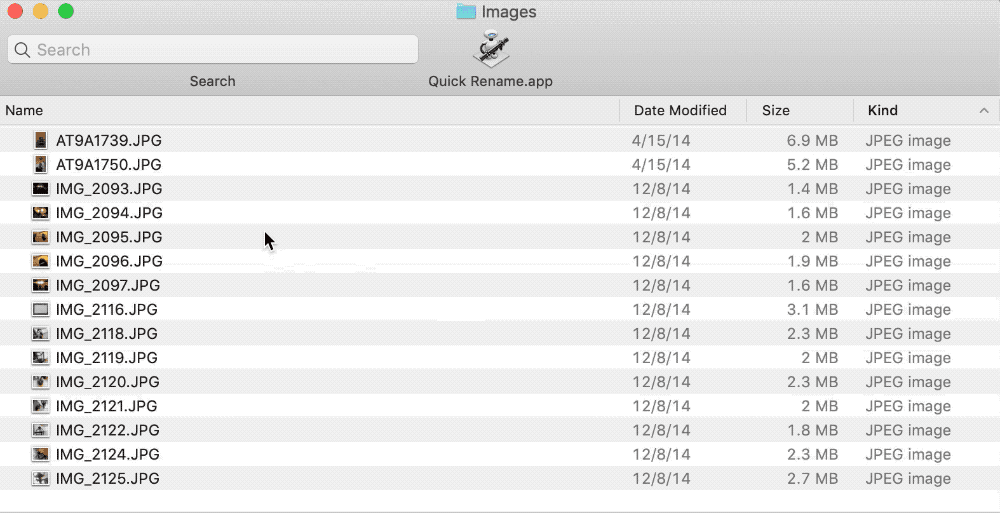
Below is a quick preview of one of the features of the app what we are about to build - in this example we are batch renaming the selected files in the format image-00.xxx.
Now that you are aware of how this will change your life, let's jump right in...
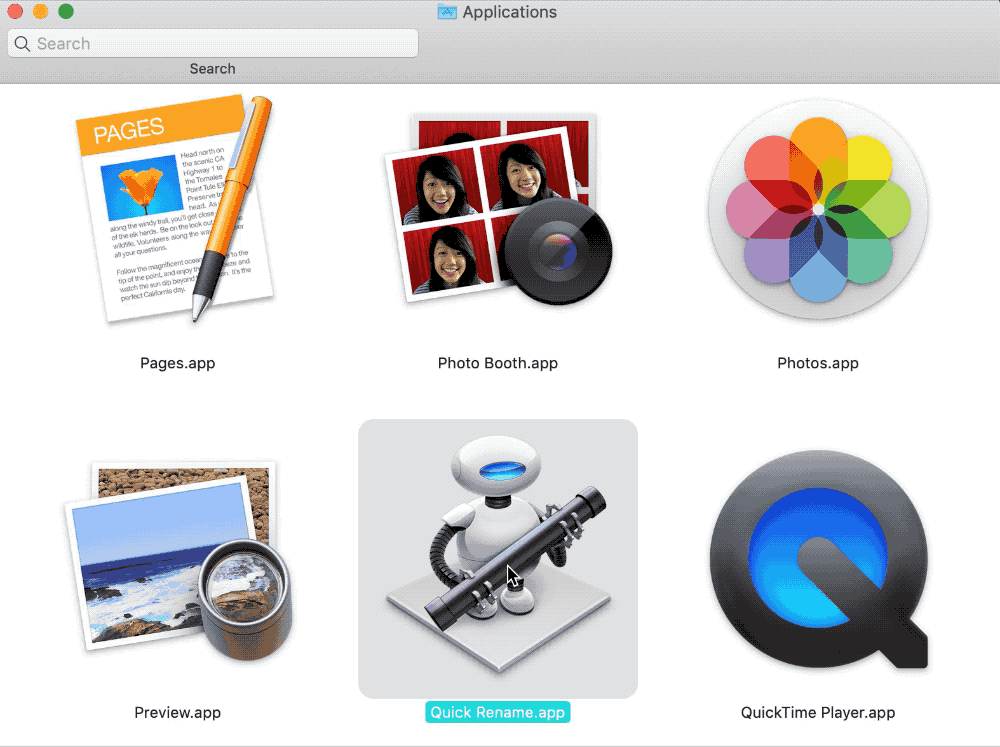
Open Automator by searching it in Spotlight or in the Applications folder.

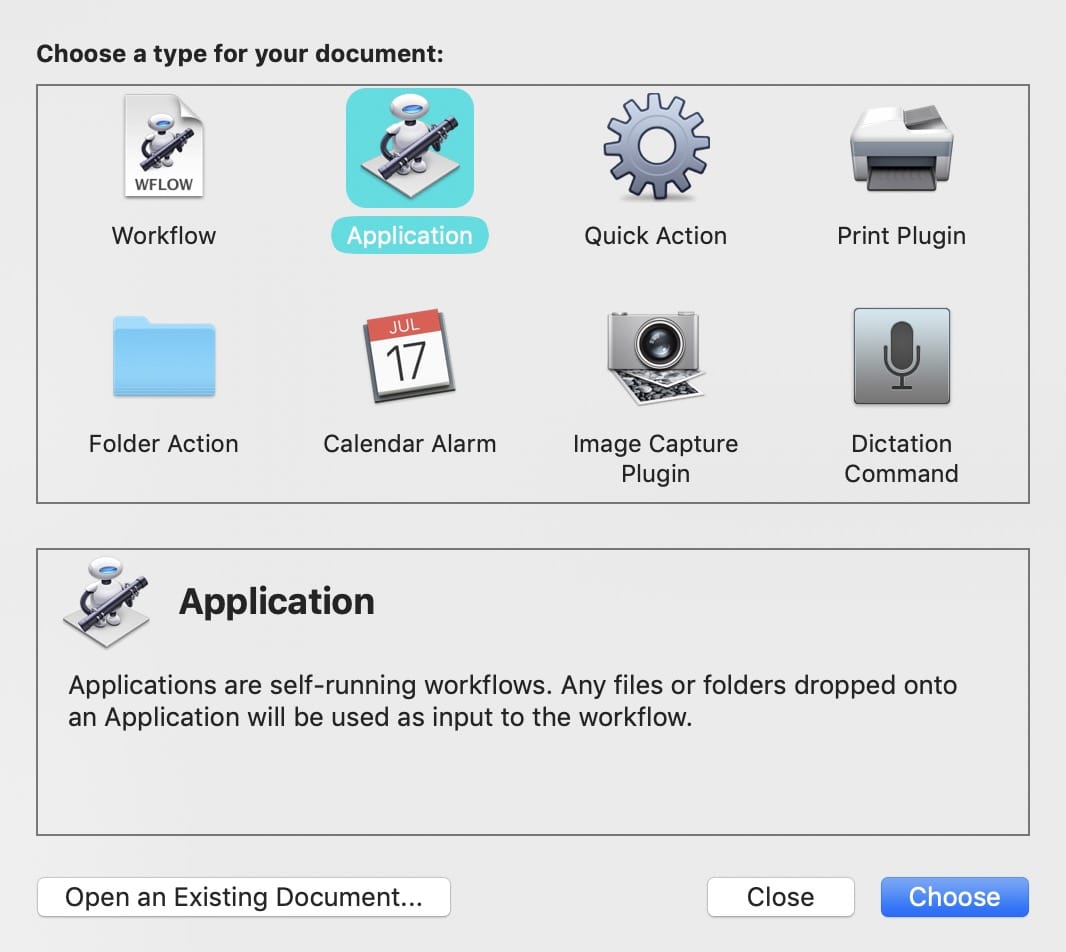
You will be greeted with a screen where you can choose what type of workflow you want to build. Let’s choose Application for now.
Note: Once we hit save, the workflow will be packaged as an app (.app) that we can then comfortably place in our Finder toolbar, for quick access. - we’ll get to this later on. Here is an explanation of each workflow: Apple Support - Choose a Workflow
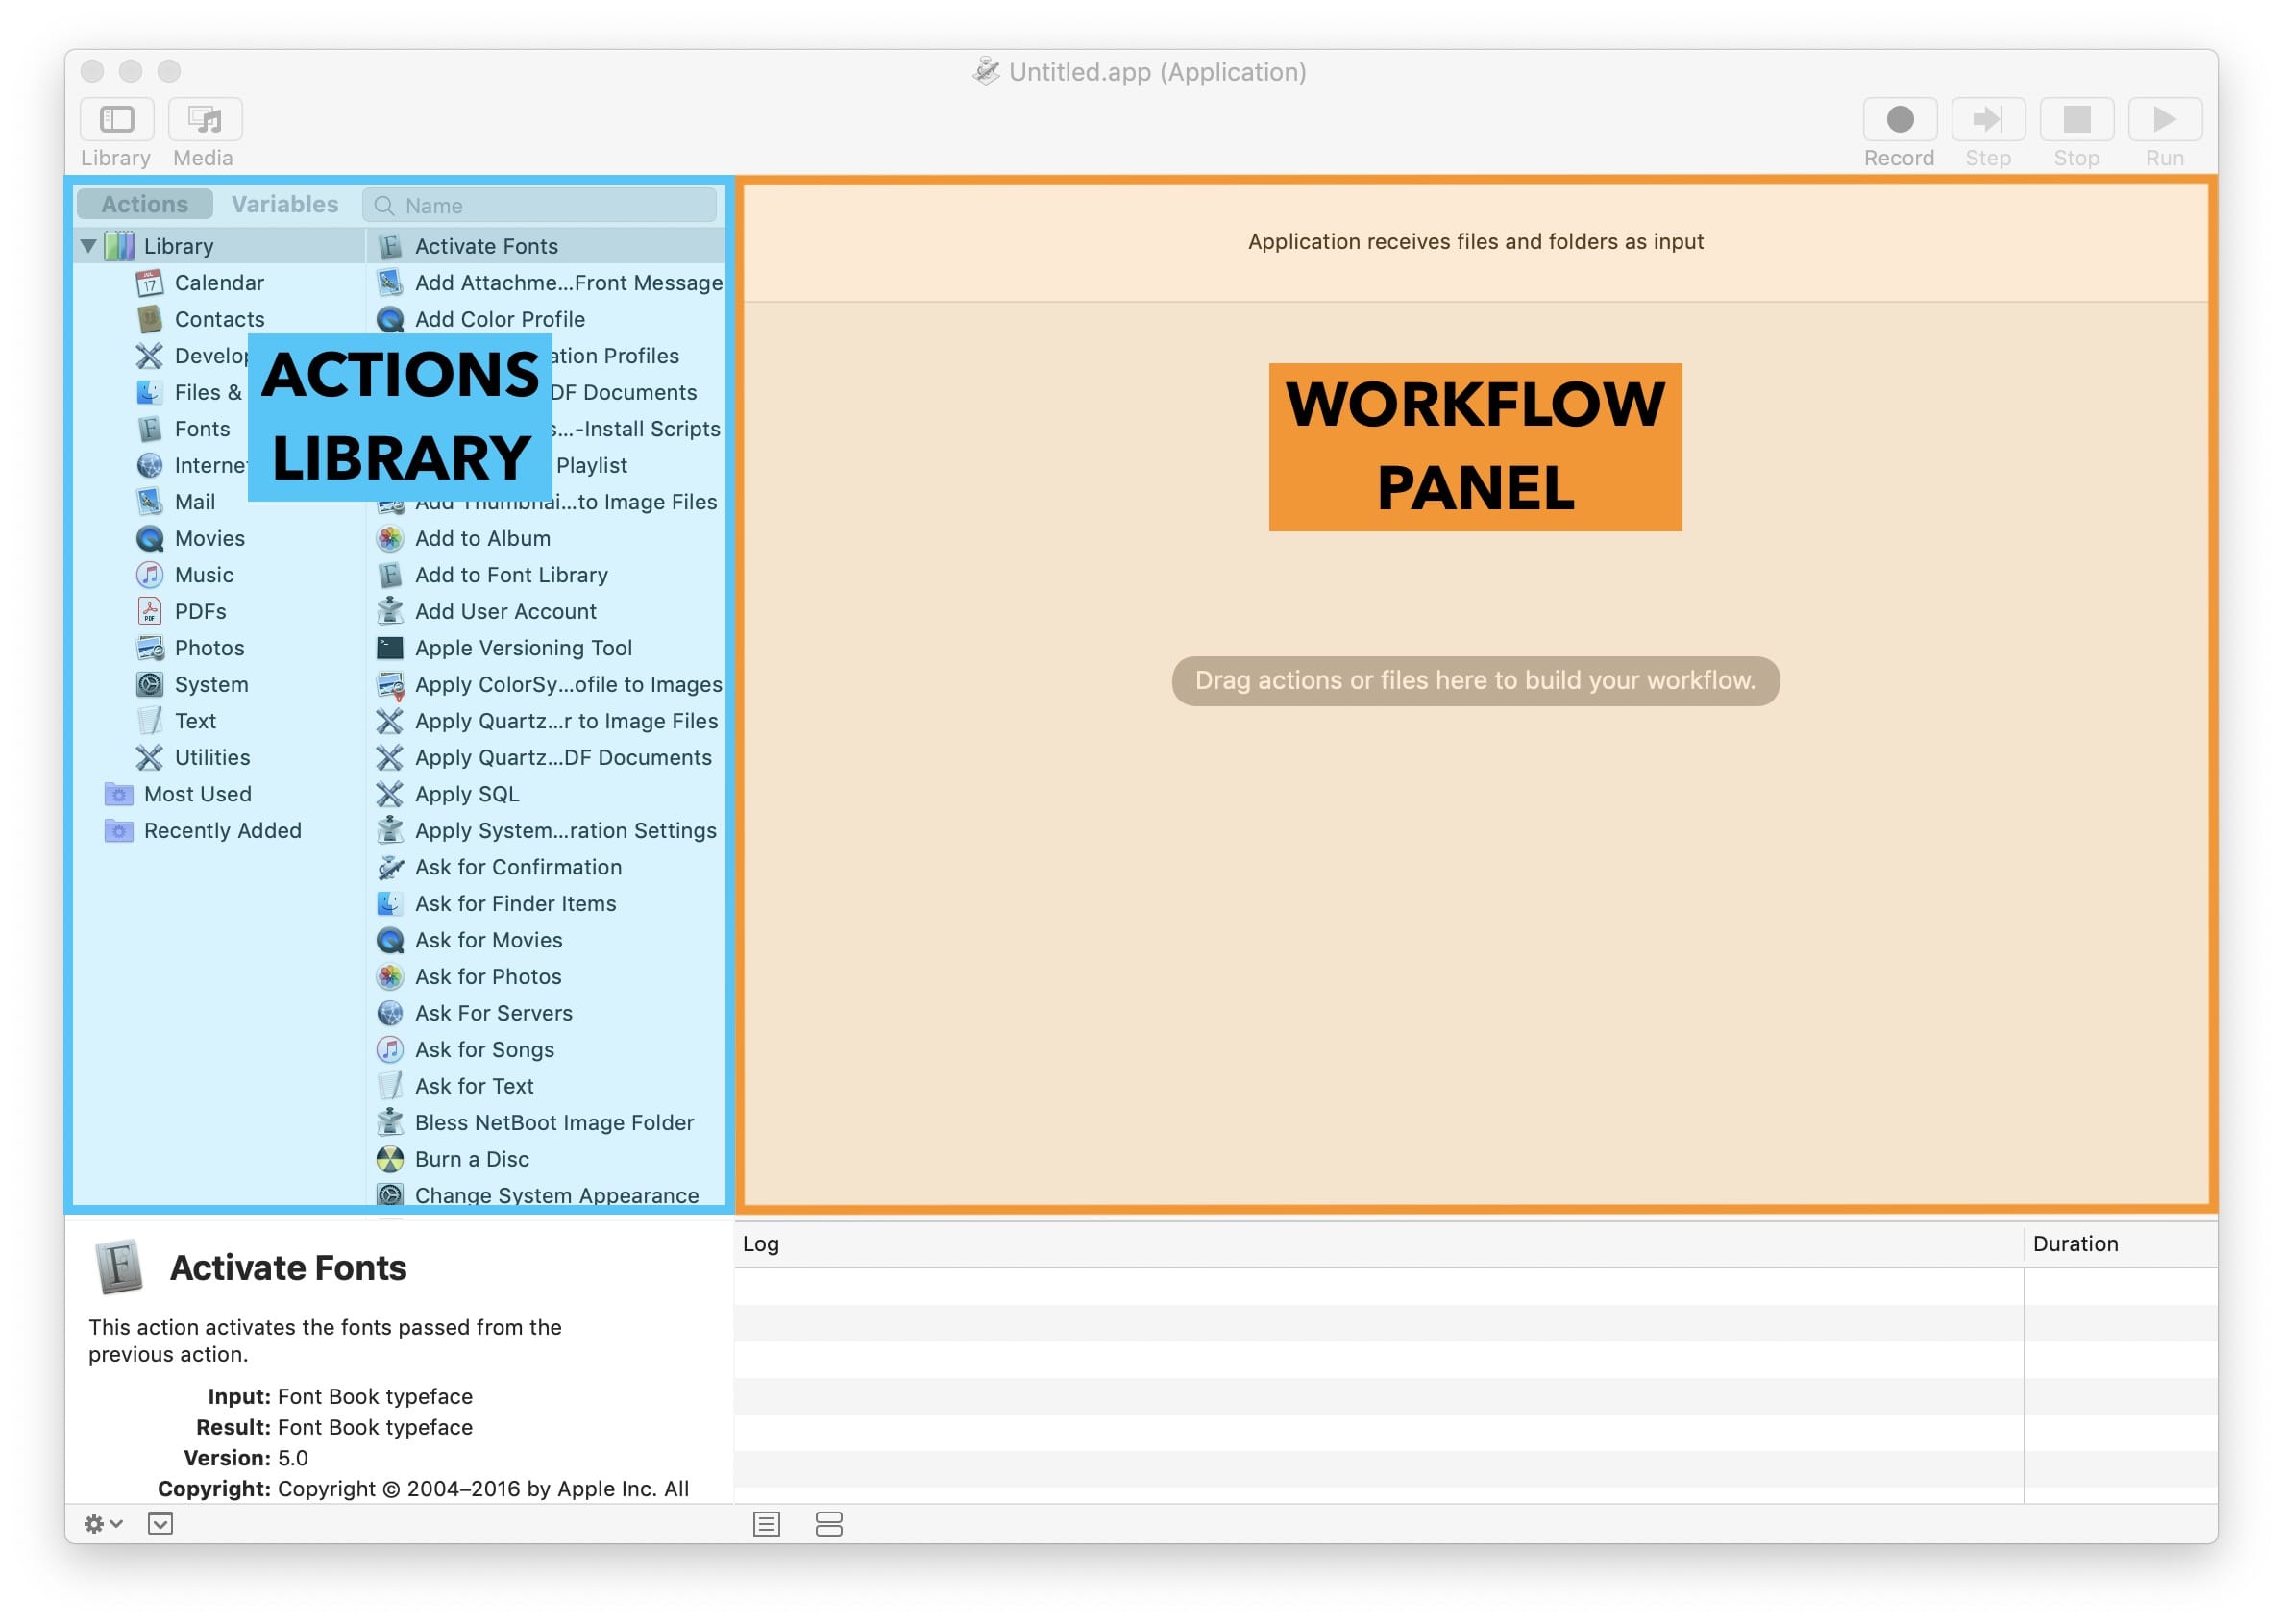
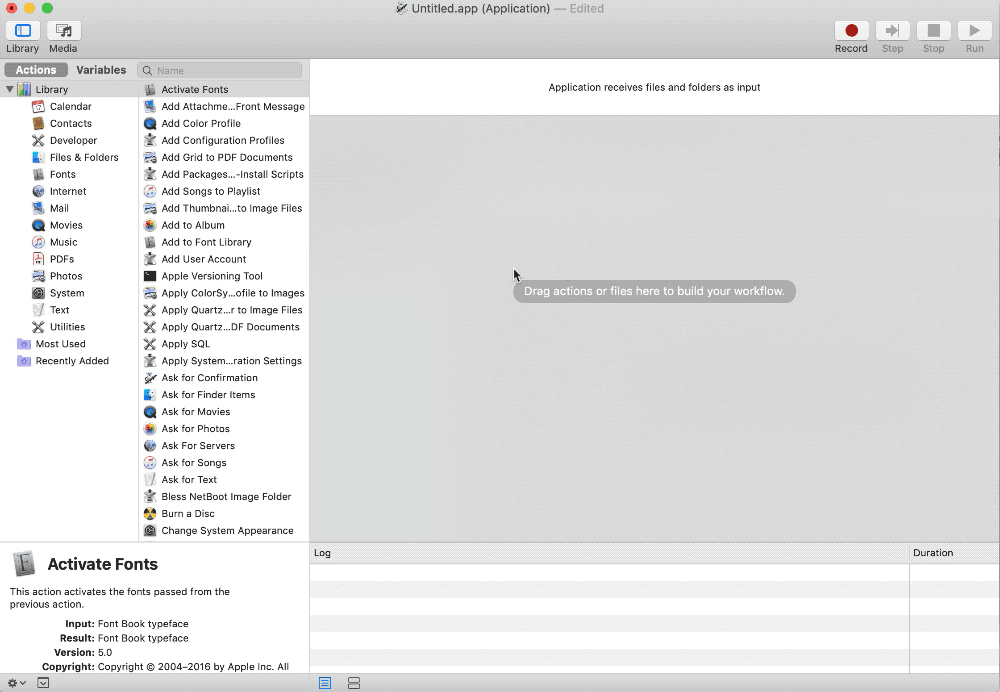
The screen will present you with the library of actions on the left, that you can drag and drop into your empty workspace on the right.
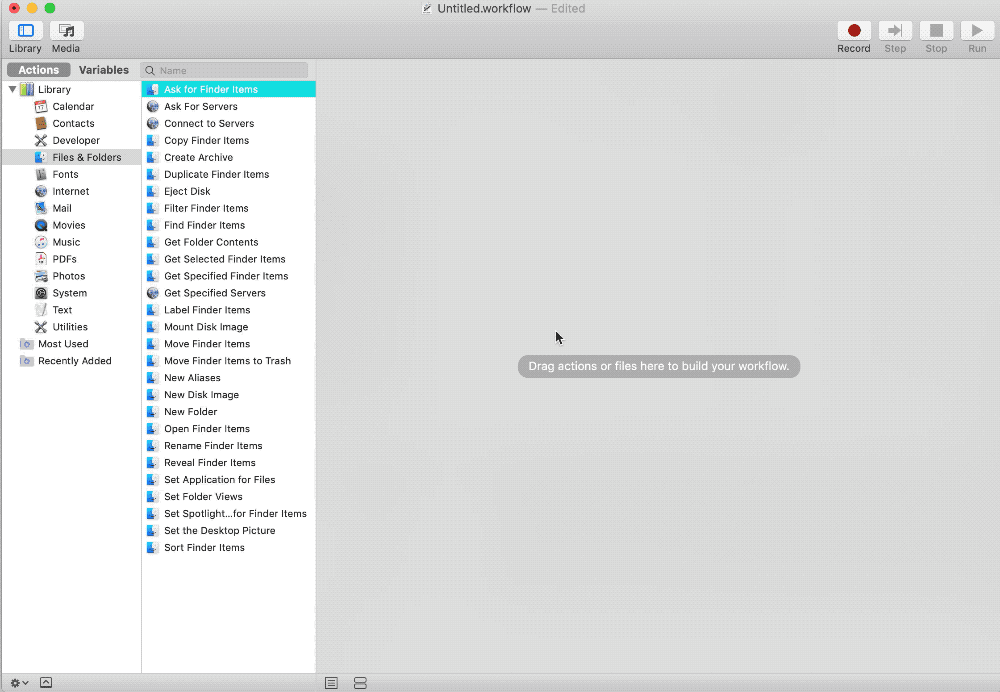
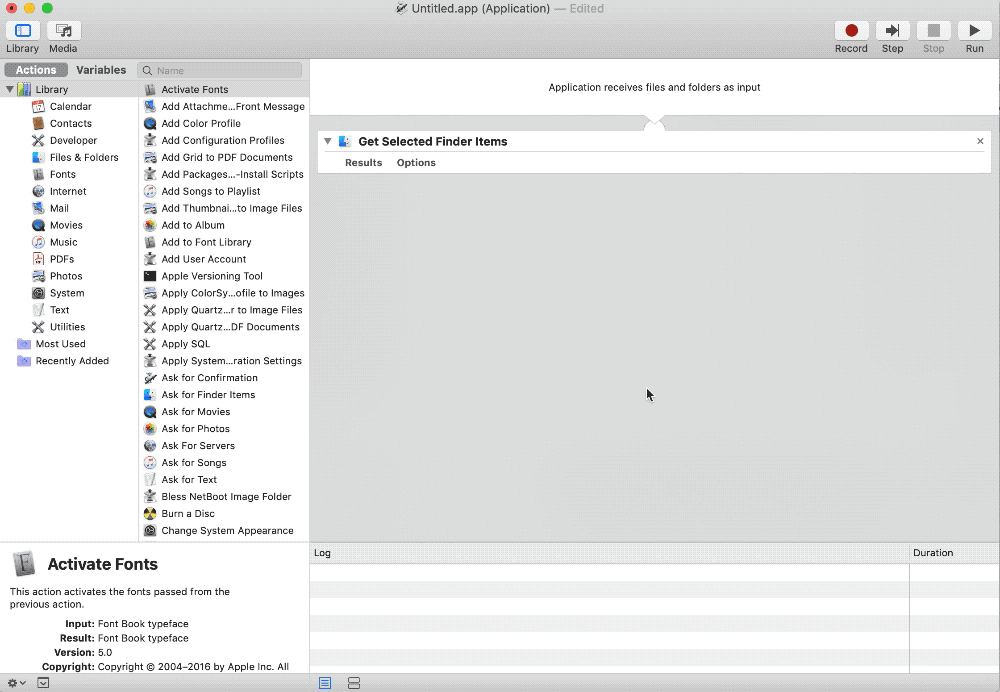
The first action we need is one that retrieves the files or folders we will have selected in Finder. In the action search box type in get selected finder - you should see a filtered list of actions. Drag and drop the Get Selected Finder Items action to the workspace.
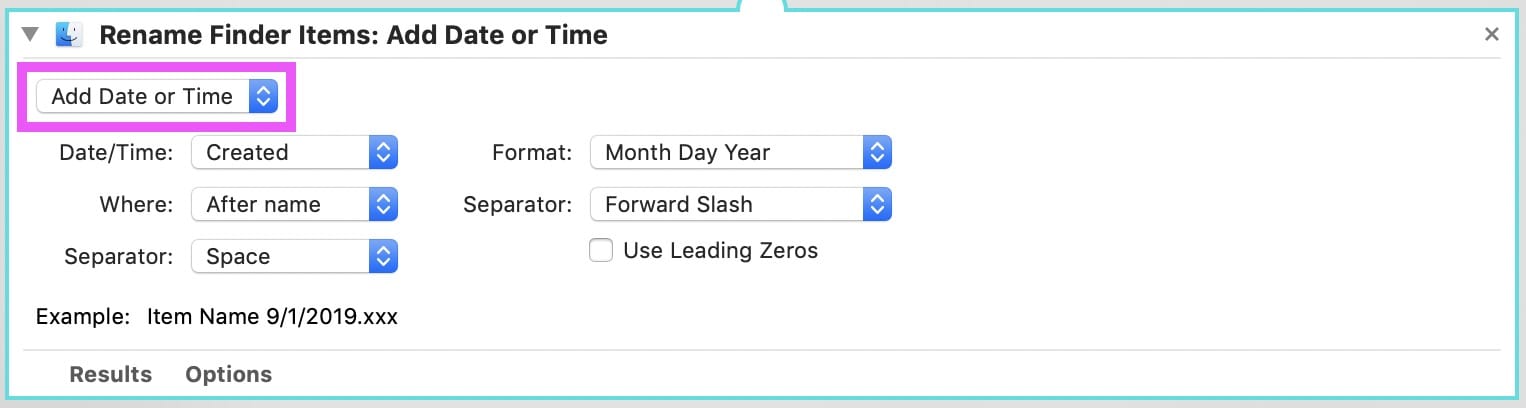
Next we need to specify what we want to do with those selected files and folders. In our case we want to be able to cycle through our selection and perform various file naming changes. This next action we’ll bring in is quite the powerhouse - type in rename in the search box, then drag and drop the Rename Finder Items action in the workspace, below the Get Selected Finder Items action. You should get an alert asking whether you want to add an action that copies the items before they are renamed - select Don’t Add otherwise you will end up with a bunch of unnecessary duplicates every time you try to rename something.
Note: you won’t be able to undo your file renaming in Finder so feel free to add the Copy Finder Items action if you feel it’s a better choice. Another way is to rename only one item first, then if you’re satisfied you process the rest of the items.
With this action in place, feel free to explore the different features it provides by toggling through the dropdown menu in the action’s top left corner. Whatever parameters you set and leave will be the default whenever you launch the app.
Note: you can always reopen the app in Automator anytime to make changes to your workflow.
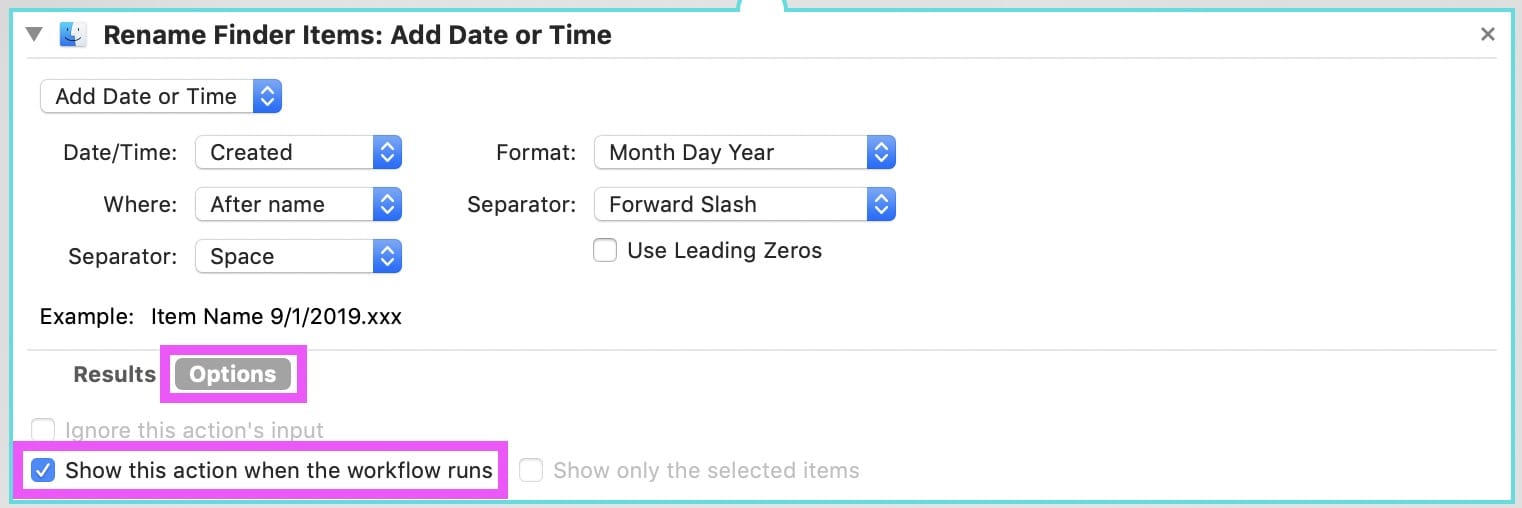
Finally, click on the Options for the Rename Finder Items action and toggle on "Show this action when the workflow runs" – this allows the action to popup when the app is launched so you can customize your renaming before the files are actually renamed.
Ok, That’s it! Now Save the application to your Applications folder.
Additional Steps
Let's add our new app to the Finder toolbar for quick access. To do this just navigate to your Applications folder (or wherever you saved your application) from a Finder window, then find your application file. Now drag your Application and, while pressing the Command key, drop it into the Toolbar.
In Action
Let’s try out our new app! Select a file in Finder. Duplicate it. Select the duplicate, then launch the app from the Toolbar. You should be greeted with the default parameters you set in Automator. Whenever you are satisfied with the new name, hit Continue (or Cancel) to see how the selected items have been renamed.
Useful Links & Resources
You can find out more about Automator from Apple's Official Documentation: Automator User Guide